Kenmore 12 Stitch Sewing Machine offers 12 versatile stitch options for various sewing tasks. Its manual provides a comprehensive guide for setup, operation, and troubleshooting, ensuring optimal performance for both beginners and experienced sewers in various projects.
1.1 Overview of the Machine and Its Features
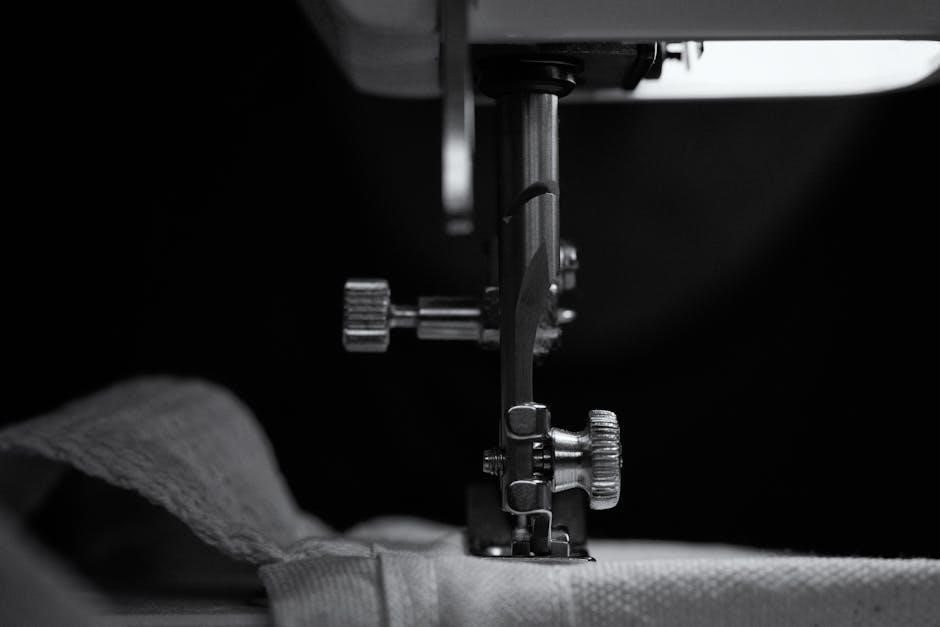
The Kenmore 12 Stitch Sewing Machine is a versatile sewing solution offering 12 stitch options, including straight, zigzag, and decorative stitches. It features a bobbin winding mechanism, tension adjustment, and interchangeable presser feet. Designed for ease of use, it accommodates various fabrics, from lightweight materials to stretch textiles. The machine also includes a free-arm option for sewing cuffs and sleeves, making it ideal for both basic and creative projects.
1.2 Importance of the Manual for Optimal Usage
The Kenmore 12 Stitch Sewing Machine manual is essential for understanding and utilizing the machine’s full potential. It provides detailed instructions for setup, operation, and troubleshooting, ensuring users can master the 12 stitch options, tension adjustments, and maintenance routines. The manual also offers safety guidelines and tips for achieving professional results, making it a vital resource for both beginners and experienced sewers.
Availability and Access to the Kenmore 12 Stitch Manual
The Kenmore 12 Stitch Sewing Machine manual is readily available online as a downloadable PDF. Sears Parts Direct and ManualsLib offer free access, ensuring users can easily find and print the guide for setup, operation, and troubleshooting their machine.
2.1 Where to Download the PDF Manual
The Kenmore 12 Stitch Sewing Machine manual can be downloaded as a PDF from trusted sources like Sears Parts Direct and ManualsLib. These platforms offer free access to comprehensive guides, including models such as the Kenmore 158.1595. Simply visit the website, search for your specific model, and download the manual for easy reference and printing.
2.2 Sources like Sears Parts Direct and ManualsLib
Sears Parts Direct and ManualsLib are reliable sources for downloading the Kenmore 12 Stitch Sewing Machine manual. Both platforms offer free PDF downloads, ensuring easy access to detailed instructions, diagrams, and troubleshooting guides. These resources are essential for understanding and maintaining your machine, making them indispensable for both beginners and experienced sewers.
Key Features of the Kenmore 12 Stitch Sewing Machine
Kenmore 12 Stitch Sewing Machine features 12 versatile stitches, including straight, zigzag, and decorative options, along with a bobbin winding system and adjustable tension for precise sewing control.
3.1 12 Versatile Stitch Options
The Kenmore 12 Stitch Sewing Machine offers 12 versatile stitch options, including straight stitch, zigzag, and decorative stitches, catering to various sewing needs. These stitches are ideal for basic sewing, stretch fabrics, and creative projects. The machine’s stitch selection allows users to adapt to different fabrics and tasks, making it suitable for both beginners and experienced sewers. The manual provides guidance on selecting and using these stitches effectively for optimal results.
3.2 Bobbin Winding and Threading Mechanism
The Kenmore 12 Stitch Sewing Machine features a user-friendly bobbin winding and threading mechanism. The manual provides clear, step-by-step instructions for winding the bobbin correctly and threading it into the machine. Proper bobbin installation ensures smooth stitching and prevents thread breakage. The mechanism is designed for easy use, making it accessible for sewers of all skill levels to achieve consistent results;
3.3 Tension Adjustment for Perfect Stitches
The Kenmore 12 Stitch Sewing Machine allows for precise tension adjustment to ensure perfect stitches. The manual guides users on balancing top and bobbin thread tension, preventing loose or tight stitching. Proper tension adjustment is crucial for consistent results and fabric compatibility, whether sewing straight lines or decorative patterns.
Setting Up the Sewing Machine
Kenmore 12 Stitch Sewing Machine setup involves unboxing, plugging in, and powering on. Familiarize yourself with the foot control for smooth operation and optimal sewing experience from the start.
4.1 Unboxing and Initial Setup
Kenmore 12 Stitch Sewing Machine unboxing involves carefully removing the machine from its packaging and verifying all included accessories. Place the machine on a stable surface, ensuring it’s level and secure. Review the manual for initial setup instructions, such as checking for damage, ensuring all parts are included, and preparing the machine for its first use.
4.2 Plugging in and Powering On
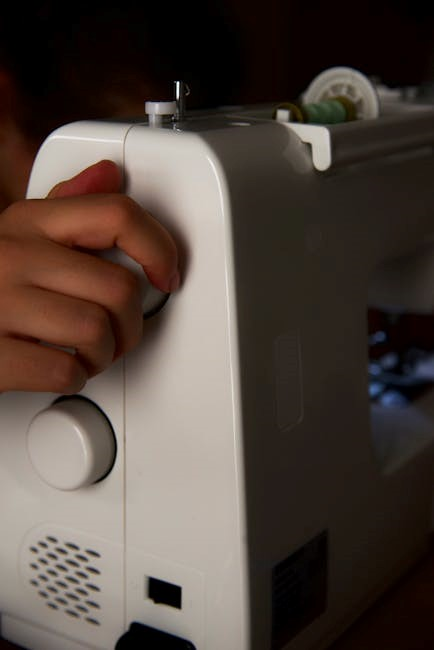
Plug the Kenmore 12 Stitch Sewing Machine into a grounded 120V electrical outlet. Ensure the power cord is fully inserted and the outlet is compatible. Press the power switch to turn it on. The machine’s lights and motor will activate, confirming it is operational. Always follow safety guidelines and ensure the machine is placed on a stable, flat surface before use.
4.3 Familiarizing Yourself with the Foot Control
Familiarize yourself with the foot control to regulate sewing speed. Plug it into the designated port on the machine. Gently press the pedal to start sewing, applying more pressure for faster speeds. Practice controlling the pedal to maintain consistent stitching. This feature allows for smooth operation, giving you full control over your sewing projects.
Threading the Kenmore 12 Stitch Machine
Threading your Kenmore machine is a straightforward process with the manual’s step-by-step guide. It ensures proper thread flow, minimizing tangles and breakage, essential for smooth stitching.
5.1 Step-by-Step Threading Guide
Threading the Kenmore 12 Stitch machine is simple with the manual’s clear instructions. Raise the take-up lever, thread through the machine’s guides, and gently pull the thread to avoid tangles. Follow the numbered steps in the manual to ensure proper thread flow. Always leave 4-6 inches of thread loose after threading to prepare for sewing. This ensures smooth stitching and reduces thread breakage.
5.2 Common Threading Mistakes to Avoid
Avoiding threading errors is crucial for smooth operation. Common mistakes include not following the manual’s threading guide, failing to leave enough thread tail, and neglecting to raise the take-up lever. Incorrect tension settings and improper thread routing can cause tangles or breakage. Always ensure the thread flows naturally through the machine’s guides to prevent issues during sewing.
Bobbin Winding and Installation
Bobbin winding and installation are essential steps for smooth sewing. Properly winding the bobbin ensures even thread flow, while correct installation maintains stitch balance and prevents tangling.
6.1 How to Wind the Bobbin Correctly
Proper bobbin winding ensures smooth thread flow. Remove the bobbin cover, place the spool, and pull thread through the guide. Wind evenly, avoiding overfilling. Cut excess thread, insert the bobbin into the holder, and ensure it seats correctly for consistent stitching.
6.2 Inserting the Bobbin into the Machine
Inserting the bobbin correctly is crucial for smooth stitching. Open the bobbin cover, align the bobbin with the holder, and gently push it in. Ensure the thread feeds counter-clockwise and the bobbin is secure. Close the cover and pull the thread to check tension. Proper insertion ensures consistent stitching and prevents machine jams during sewing projects.
Adjusting Tensions for Perfect Sewing
Proper tension adjustment is essential for consistent stitching. Balance top and bobbin tensions to avoid loose or tight stitches. Test on scrap fabric to ensure even tension distribution.
7.1 Understanding Top and Bobbin Tension
Top tension controls the upper thread’s tightness, while bobbin tension regulates the lower thread’s resistance. Proper balance is crucial for even stitches. If top tension is too tight, stitches may pucker; if too loose, threads may loop. Similarly, incorrect bobbin tension can cause uneven stitching or fabric bunching. Adjust these settings carefully to achieve smooth, consistent results for all fabric types and sewing projects.
7.2 How to Achieve Balanced Stitch Tension
Balanced stitch tension is achieved by adjusting the top and bobbin tensions evenly. Start by threading the machine correctly and testing on scrap fabric. For straight stitches, the ideal tension creates smooth, even stitching on both fabric sides. For stretch stitches, slightly loosen the top tension to allow fabric flexibility. Regularly check and adjust tensions to maintain consistent results across various fabrics and sewing techniques.
Troubleshooting Common Issues
Identify and resolve issues like thread breakage or bobbin problems by checking tension settings and ensuring proper threading. The manual provides clear solutions to common sewing challenges.
8.1 Diagnosing and Fixing Thread Breakage
Thread breakage is common due to improper tension, incorrect needle size, or misaligned machine parts. Check the top and bobbin tension, ensure the needle is suitable for your fabric, and verify thread path alignment. The manual provides step-by-step guidance to identify and resolve these issues, ensuring smooth stitching and preventing further breakage during sewing projects.
8.2 Solving Bobbin-Related Problems
Bobbin issues often arise from incorrect winding or improper installation. Ensure the bobbin is wound evenly and seated correctly in the holder. Check for thread tangles or misalignment. The manual suggests gently pulling the thread to verify proper tension and ensuring the bobbin rotates smoothly. Regular cleaning and proper threading techniques can prevent these common problems, ensuring seamless stitching and optimal machine performance.

Maintenance and Care Tips
Regularly clean the machine to remove dust and debris. Lubricate moving parts as recommended. Store the machine in a dry place to prevent rust and ensure longevity.
9.1 Cleaning the Machine Regularly
Regular cleaning is essential to maintain the Kenmore 12 Stitch Sewing Machine’s performance. Use a soft brush to remove dust and debris from the tension discs and bobbin area. Wipe the exterior with a dry cloth to prevent rust. Avoid using liquids or harsh chemicals, as they may damage the machine. Refer to the manual for specific cleaning instructions to ensure longevity and optimal functionality.
9.2 Lubricating Moving Parts
Regular lubrication of the Kenmore 12 Stitch Sewing Machine is crucial for smooth operation. Apply a few drops of high-quality sewing machine oil to the hook area and moving parts. Avoid over-lubrication, as it may attract dust. Lubricate after cleaning or as needed to prevent friction and ensure longevity. Always refer to the manual for specific instructions on lubrication points and frequency.
Exploring the 12 Stitch Options
The Kenmore 12 Stitch Sewing Machine offers a variety of stitches for basic sewing, stretch fabrics, and decorative projects. Each stitch serves a specific purpose, ensuring functionality and creativity. The manual provides guidance on selecting the right stitch for your needs, helping you achieve professional results. Experiment with different stitches to enhance your sewing experience and bring your ideas to life.
10.1 Straight Stitch for Basic Sewing
The straight stitch on the Kenmore 12 Stitch Sewing Machine is ideal for basic sewing tasks, such as seaming fabrics and simple repairs. Its simplicity and consistency make it perfect for straight-line sewing. The manual provides clear instructions on setting the correct tension and selecting the right fabric for this stitch, ensuring smooth and precise results for both beginners and experienced sewers.
10.2 Zigzag Stitch for Stretch Fabrics
The zigzag stitch on the Kenmore 12 Stitch Sewing Machine is perfect for stretch fabrics, ensuring flexibility and durability. It prevents fabric from stretching while sewing, making it ideal for knits and elastic materials. The manual guides on selecting this stitch and adjusting settings, allowing users to achieve professional results for garments and stretchy projects with ease and precision.
10.3 Decorative Stitches for Creative Projects
The Kenmore 12 Stitch Sewing Machine includes a variety of decorative stitches perfect for creative projects. These stitches allow users to add intricate designs to fabrics, ideal for embroidery, quilting, or customizing garments. The manual provides guidance on selecting and using these stitches, enabling users to explore their creativity and enhance their sewing projects with unique and visually appealing patterns effortlessly.
Accessories and Attachments
The Kenmore 12 Stitch Sewing Machine comes with essential accessories, including various presser feet for tasks like zippers and buttonholes, a buttonhole attachment, and a darning plate for mending. Additional tools like screwdrivers and spool pins are also included, enhancing your sewing experience and versatility in different projects.
11.1 Essential Presser Feet for Various Tasks
The Kenmore 12 Stitch Sewing Machine includes a variety of presser feet to handle different sewing tasks. The straight stitch foot is ideal for general sewing, while the zipper foot simplifies zipper installation. A buttonhole foot and sliding buttonhole foot make creating buttonholes effortless. Additional accessories like a darning plate allow for mending and embroidery, enhancing the machine’s versatility and adaptability to diverse sewing projects.
11.2 Using the Buttonhole Attachment
The buttonhole attachment simplifies creating professional-looking buttonholes. Attach it to the machine using the buttonhole foot, ensuring proper alignment. The attachment automatically measures and sews buttonholes to the desired size, with options for different lengths and styles. Follow the manual’s step-by-step guide to achieve precise, consistent results, making it easy to enhance garments and projects with custom buttonholes effortlessly.
Safety Precautions
Always ensure loose clothing is tied back and keep the sewing area clear from flammable materials. Use the machine on a stable surface and unplug it when not in use.
12.1 General Safety Guidelines
Always follow basic safety precautions when using the Kenmore 12 Stitch Sewing Machine. Keep loose clothing and long hair tied back, and avoid wearing jewelry that could catch. Ensure the machine is placed on a stable, flat surface and keep the sewing area away from flammable materials. Unplug the machine when not in use or during maintenance to prevent accidents. Always check the needle size and type to match your fabric, and keep children away while sewing.
12.2 Avoiding Accidents While Sewing
To prevent accidents while sewing, ensure the machine is on a stable surface and keep children away. Avoid sewing when fatigued and never touch moving parts. Use the correct needle size for your fabric to prevent breakage. Keep the sewing area well-lit and free from clutter. Regularly inspect and maintain the machine to ensure proper function and safety during operation.
Common Projects for the Kenmore 12 Stitch
The Kenmore 12 Stitch sewing machine is ideal for creating garments, home decor, and crafts. Its decorative stitches make it perfect for customizing fabrics and enhancing sewing projects creatively.
13.1 Sewing Garments and Home Decor
The Kenmore 12 Stitch sewing machine is perfect for sewing garments and home decor. Use the straight stitch for basic clothing and the zigzag stitch for stretch fabrics. Decorative stitches add elegance to curtains, pillowcases, and quilts. With 12 versatile stitches, users can create custom designs for both functional and decorative projects, making it a versatile tool for everyday sewing needs and creative expression.
13.2 Crafting with Decorative Stitches
The Kenmore 12 Stitch sewing machine offers decorative stitches perfect for crafting projects. Use these stitches to embellish scrapbook pages, create embroidered designs, or add intricate details to fabric. With options like floral patterns and geometric designs, users can personalize gifts, customize clothing, and bring creativity to handmade items, making crafting both fun and professional-looking.
Tips for Getting the Most Out of Your Machine
Optimize your Kenmore 12 Stitch machine by selecting the right fabric and thread, experimenting with stitch techniques, and maintaining regular upkeep for enhanced sewing efficiency and creativity.
14.1 Choosing the Right Fabric and Thread
Selecting the appropriate fabric and thread is crucial for optimal sewing results. Match fabric type (cotton, polyester, or stretch) with compatible threads to ensure even stitches and prevent breakage. Use lightweight threads for delicate fabrics and heavier-duty threads for thicker materials. Always check thread quality and needle compatibility to achieve professional-looking seams and extend the life of your Kenmore 12 Stitch machine.
14.2 Mastering Different Stitch Techniques
Mastering various stitch techniques enhances your sewing projects. The Kenmore 12 Stitch machine offers options for straight, zigzag, and decorative stitches, suitable for different fabrics. Practice adjusting stitch width and length for precise results. Experiment with stretch stitches for knits and decorative stitches for embellishments. Refer to your manual for guidance on optimizing each stitch type for professional-quality outcomes and creative freedom.
The Kenmore 12 Stitch sewing machine is a versatile tool with a comprehensive manual, making it easy to use for both beginners and experienced sewers. It supports various sewing projects, from basic repairs to creative endeavors, ensuring high-quality results and fostering a rewarding sewing experience.
15.1 Summary of Key Points
The Kenmore 12 Stitch sewing machine manual provides comprehensive guidance for setup, operation, and maintenance. It covers threading, bobbin winding, and tension adjustment, ensuring optimal performance. With 12 versatile stitches, it supports various sewing projects, from basic repairs to decorative designs. The manual is user-friendly, suitable for all skill levels, and emphasizes troubleshooting and care tips for longevity and creativity.
15.2 Encouragement to Start Sewing
With the Kenmore 12 Stitch sewing machine and its detailed manual, you’re ready to unlock your creativity. Whether you’re a beginner or an experienced sewer, this machine offers versatility and ease of use. Start with simple projects and gradually explore decorative stitches to create unique garments and home decor. Sewing is a rewarding hobby that brings joy and satisfaction—so why not begin your sewing journey today?