Welcome to the Honeywell RTH221B installation manual. This guide provides step-by-step instructions for installing and configuring your programmable thermostat. Learn how to regulate temperature efficiently and customize settings for optimal comfort.
Product Overview
The Honeywell RTH221B is a programmable thermostat designed to regulate temperature efficiently in residential settings. Suitable for gas‚ oil‚ and electric HVAC systems‚ it offers a user-friendly interface for customizing temperature schedules. This thermostat operates on 24-volt or 750 mV systems‚ ensuring compatibility with most standard HVAC setups; With a compact design and straightforward installation process‚ the RTH221B is ideal for homeowners seeking precise temperature control. It is part of a series that includes models like RTH221B1000 and RTH221B1021‚ all backed by a one-year limited warranty for defects in materials and workmanship. The thermostat is designed for simplicity and reliability.
Key Features
The Honeywell RTH221B thermostat features a 1-week programmable schedule‚ allowing users to set different temperatures for each day. It offers precise temperature control with a digital display and easy-to-use buttons. Designed for compatibility with most HVAC systems‚ the thermostat supports heating and cooling modes. Additional features include a filter reminder and system setup options. The RTH221B is backed by a one-year limited warranty and comes with detailed installation and troubleshooting guides. Its compact design ensures seamless installation‚ and the user-friendly interface makes programming and adjusting settings straightforward. This thermostat is ideal for homeowners seeking efficient and reliable temperature management.

System Requirements and Compatibility
The Honeywell RTH221B thermostat is compatible with gas‚ oil‚ and electric HVAC systems. It operates on 24-volt or 750mV systems but is not suitable for multi-stage conventional systems.
Supported HVAC Systems
The Honeywell RTH221B thermostat is designed to work with various HVAC systems‚ including gas‚ oil‚ and electric heating systems. It is also compatible with central air conditioning systems and heat pumps. Additionally‚ it supports single-stage heating and cooling systems‚ providing precise temperature control. However‚ it is not compatible with multi-stage conventional systems or systems requiring 120/240V power. Ensure your HVAC system matches these specifications before installation to guarantee optimal performance and compatibility.
Voltage and Compatibility
The Honeywell RTH221B thermostat operates on 24-volt or 750 mV systems‚ ensuring compatibility with standard HVAC setups. It is not compatible with 120/240-volt systems or multi-stage conventional systems. Proper voltage matching is essential for safe and efficient operation. Verify your system’s voltage requirements before installation to avoid potential damage or malfunction. This thermostat is designed for single-stage heating and cooling systems‚ making it a versatile choice for most residential applications while maintaining energy efficiency and precise temperature control.

Tools and Materials Needed
For a successful installation of the Honeywell RTH221B thermostat‚ gather the necessary tools and materials. You will need a screwdriver‚ drill‚ and wall anchors for mounting. Ensure you have the thermostat unit‚ wiring labels‚ and user manual provided in the package. Additional materials like a voltage tester and wire connectors may be required for safe and secure wiring connections. Proper preparation of these tools ensures a smooth installation process and prevents potential issues. Always follow safety guidelines when handling electrical components to avoid hazards. Having all materials ready beforehand saves time and ensures a professional-quality installation.

Installation Steps
Mount the thermostat‚ connect wires according to the wiring diagram‚ and configure settings. Refer to the quick installation guide for step-by-step instructions. Ensure all connections are secure and follow the manual for a successful setup.
Pre-Installation Checklist
Before installing your Honeywell RTH221B thermostat‚ ensure the following steps are completed:
- Verify compatibility with your HVAC system type (gas‚ oil‚ or electric).
- Turn off power to the HVAC system at the circuit breaker.
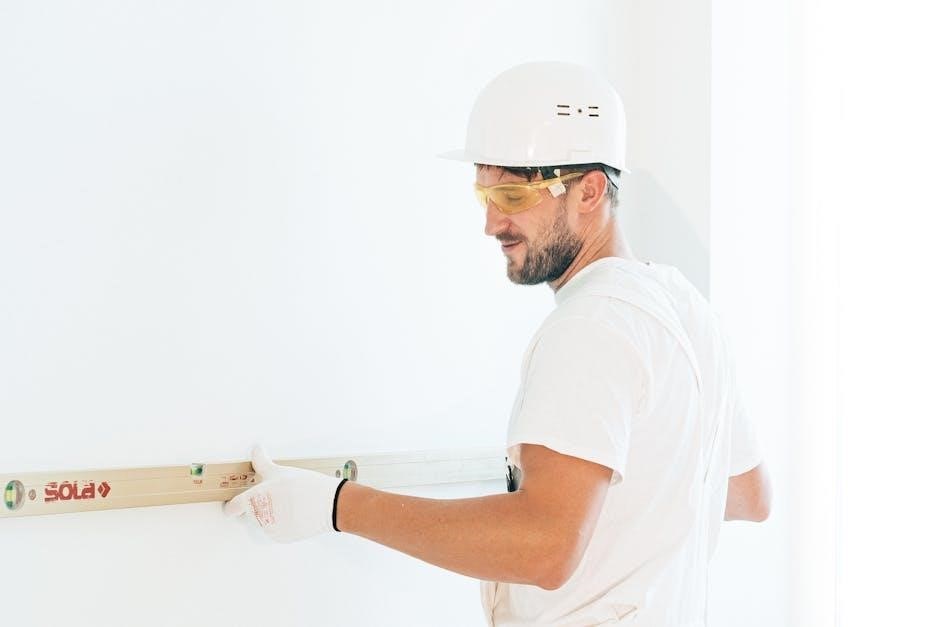
- Gather necessary tools‚ including a screwdriver‚ drill‚ and level.
- Check if your system requires a C-wire for power.
- Review the wiring diagram to ensure correct connections.
- Remove the old thermostat and label wires for identification.
- Ensure the wall surface is level and clean for mounting.
This preparation ensures a smooth and safe installation process.
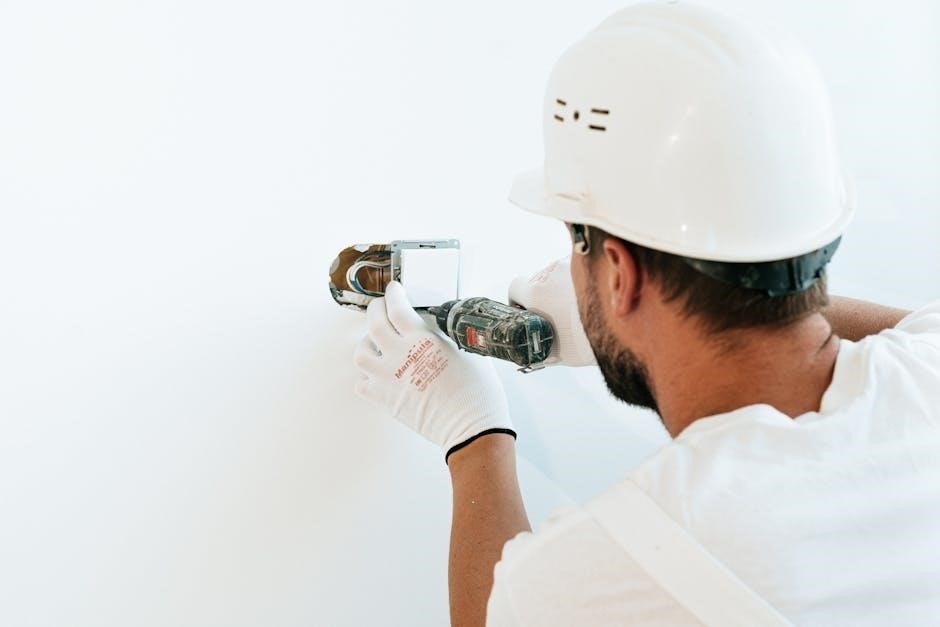
Mounting the Thermostat
Mounting the Honeywell RTH221B thermostat involves securing it to the wall. Start by removing the old thermostat and labeling the wires. Use the provided mounting bracket to ensure proper alignment. Drill holes at the marked positions and insert the supplied anchors. Hang the thermostat on the bracket‚ ensuring it is level for a professional appearance. Secure the device firmly to the wall using the screws provided. Once mounted‚ attach the wires to the appropriate terminals. Finally‚ restore power to the HVAC system and test the thermostat to ensure it functions correctly.
Wiring Connections
Connect the wires to the corresponding terminals on the Honeywell RTH221B thermostat. Identify the wires by their terminal labels (R‚ W‚ Y‚ G‚ C). Attach the wires securely to the correct terminals to ensure proper functionality. Use the provided wire connectors for a secure fit. If your system requires a common wire‚ ensure it is connected to the C terminal. Double-check the wiring configuration to match your HVAC system type. For heat-only or cool-only systems‚ follow the specific wiring instructions. After wiring‚ restore power and test the thermostat to confirm all functions operate correctly. Refer to the manual for detailed wiring diagrams.
System Setup and Configuration
After installation‚ set the time‚ date‚ and preferred temperature settings. Choose between heating‚ cooling‚ or auto modes. Program your schedule for energy efficiency and comfort.
Initial Setup
After mounting the thermostat‚ press and hold the “S” and “T” buttons for 5 seconds to access system setup. Select your language and unit of measurement (Fahrenheit or Celsius). Set the current date and time accurately. Choose your preferred temperature range and mode (Heat‚ Cool‚ or Auto); Program your weekly schedule by setting temperature levels for different times of the day. Ensure the device is level for proper operation. Once initial setup is complete‚ the thermostat will be ready to regulate your HVAC system according to your programmed settings‚ ensuring comfort and energy efficiency.
Programming Options
The Honeywell RTH221B allows you to customize your temperature settings with flexible programming options. Set up to four different temperature periods per day‚ ideal for morning‚ afternoon‚ evening‚ and night. Choose between Heat‚ Cool‚ or Auto modes to maintain comfort. Program your weekly schedule in advance‚ ensuring energy efficiency. The thermostat also features an auto-changeover option‚ automatically switching between heating and cooling based on your settings. After programming‚ press “Save” to store your preferences. The device will maintain your programmed temperatures‚ optimizing energy use and ensuring consistent comfort throughout the day.

Advanced Installation Guide
For advanced setups‚ refer to detailed wiring diagrams and system configuration options. Ensure compatibility with your HVAC system and follow specific instructions for multi-stage or specialized units.
Detailed Wiring Diagrams
Refer to the wiring diagrams in the manual for precise connections. The RTH221B works with 24V or 750mV systems‚ supporting 2-wire‚ 3-wire‚ 4-wire‚ and 5-wire configurations. Ensure correct wire labeling (R‚ W‚ Y‚ G‚ C‚ etc.) to avoid system malfunctions. Use the provided diagrams to verify compatibility with your HVAC setup. For heat-only‚ cool-only‚ or heat-pump systems‚ follow the specific wiring instructions. Note: This thermostat is not compatible with multi-stage conventional systems. Double-check all connections before powering on. Proper wiring ensures safe and efficient operation. Use a level to mount the thermostat for accurate temperature sensing and aesthetic appeal.
System Configuration Options
The RTH221B offers flexible system configuration options to suit various HVAC setups. It supports 24V or 750mV systems‚ including 2-wire‚ 3-wire‚ 4-wire‚ and 5-wire configurations. Configure the thermostat for heat-only‚ cool-only‚ or heat-pump systems. Access system setup by pressing and holding the “S” and “T” buttons for 5 seconds. Select options like temperature display (Fahrenheit or Celsius)‚ filter reminders‚ and fan operation. The thermostat also allows programming for energy-saving schedules. Ensure compatibility with your HVAC system type before configuring. Detailed configuration options are outlined in the manual to optimize performance for your specific setup. Proper configuration ensures efficient and reliable temperature control.

Troubleshooting Common Issues
Address common issues like display malfunctions‚ wiring errors‚ or system incompatibility. Check for loose connections and ensure correct system setup. Reset the thermostat if needed.
Error Codes and Solutions
Identify and resolve common issues using error codes displayed on your RTH221B thermostat. For example‚ an “E1” code indicates a temperature difference between the setpoint and current temperature‚ while “E2” suggests a sensor malfunction. “E3” typically points to a system communication error. To address these‚ ensure proper wiring connections‚ check sensor accuracy‚ and restart the system. If issues persist‚ refer to the manual or contact technical support for assistance. Regular maintenance and updates can help prevent errors and ensure optimal performance. Always follow the troubleshooting steps outlined in the official Honeywell RTH221B installation guide for effective resolution.
Resetting the Thermostat
To reset your Honeywell RTH221B thermostat‚ remove the batteries and press the reset button located on the back of the thermostat. Hold the button for 5 seconds‚ then reinsert the batteries. This restores default settings‚ erasing all programmed schedules. After resetting‚ you will need to reconfigure your preferences‚ including the time‚ day‚ and temperature settings. Resetting is useful for resolving minor glitches or starting fresh with a new configuration. Ensure you have your schedule saved or written down before performing a reset‚ as all programmed data will be lost. Refer to the manual for detailed instructions if needed.

Maintenance and Care Tips
Regularly clean the thermostat’s exterior and interior to prevent dust buildup‚ which can affect performance. Replace batteries annually or when the low-battery indicator appears. Ensure the thermostat is level during installation to maintain accuracy. Check and update programmed settings periodically to reflect lifestyle changes. Avoid exposing the thermostat to direct sunlight or moisture‚ as this can cause malfunctions. For optimal function‚ ensure proper airflow around the device. Refer to the user manual for detailed care instructions. By following these tips‚ you can extend the lifespan of your Honeywell RTH221B thermostat and ensure reliable temperature regulation in your home.

Warranty Information
The Honeywell RTH221B thermostat is backed by a 1-year limited warranty covering defects in materials and workmanship from the original purchase date.
Coverage Details
The Honeywell RTH221B thermostat is covered under a 1-year limited warranty‚ ensuring protection against defects in workmanship and materials. This warranty applies from the date of purchase and includes repair or replacement of defective components. Exclusions may apply‚ such as damage caused by misuse or improper installation. The warranty is non-transferable and only valid for the original purchaser. For detailed terms and conditions‚ refer to the official Honeywell documentation or contact customer support.
Exclusions
The Honeywell RTH221B warranty excludes coverage for the battery and issues arising from misuse‚ neglect‚ or improper installation. Damage caused by unauthorized modifications‚ extreme environmental conditions‚ or third-party interference is also not covered. Additionally‚ normal wear and tear‚ or damage during transit or handling‚ are excluded. The warranty does not cover consequential damages or labor costs for repairs. For specific exclusions and details‚ review the official Honeywell warranty documentation or contact their customer support team for clarification.
Technical Support and Resources
Visit Honeywell’s official website for comprehensive support resources‚ including downloadable manuals‚ troubleshooting guides‚ and contact information for assistance with your RTH221B thermostat.
Contact Information
For assistance with your Honeywell RTH221B thermostat‚ contact Resideo customer support at 1-800-468-1502. Visit the official website at https://www.honeywellhome.com for additional resources‚ troubleshooting guides‚ and downloadable manuals. The support team is available to address installation queries‚ technical issues‚ or general inquiries about your programmable thermostat.
Downloadable Resources
Access comprehensive downloadable resources for the Honeywell RTH221B thermostat on the official Honeywell website. Find the 69-page installation manual in PDF format‚ covering installation‚ programming‚ and troubleshooting. Additional resources include wiring diagrams‚ advanced configuration guides‚ and user manuals. Visit the support section to download specific models like RTH221B1000 or RTH221B1021. These resources are designed to help you understand and optimize your thermostat’s functionality‚ ensuring a smooth setup and operation experience.
The Honeywell RTH221B installation manual provides a comprehensive guide to setting up and operating your programmable thermostat. With detailed instructions and troubleshooting tips‚ it ensures a seamless installation process. The thermostat’s user-friendly design and customizable features make it easy to regulate your home’s temperature efficiently. By following the manual‚ you can optimize energy usage and enjoy consistent comfort. For additional support‚ downloadable resources like wiring diagrams and advanced configuration guides are available. Refer to the manual for any assistance‚ and take full advantage of the RTH221B’s capabilities to enhance your home’s climate control system.